 AfterInspect
Photos and video, and classifying them
A photo belongs to exactly one place: a finding, an item, or (for a moment) nowhere yet, in the walk-and-talk list. The app never decides that for you. You choose the place, either by where you add the photo or by assigning it afterwards. The AI can suggest an item for an unsorted photo, but a suggestion changes nothing until you tap Assign.
Where a photo can live
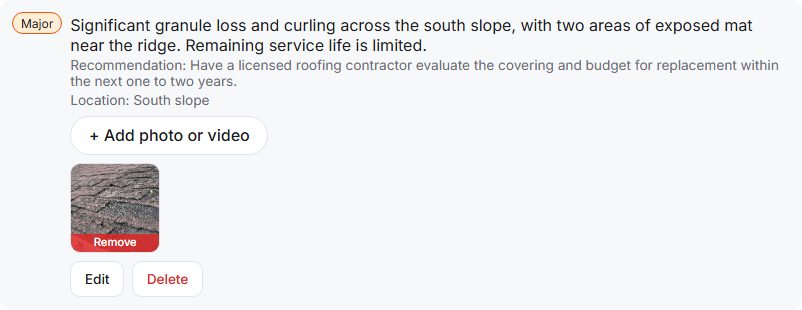
- On a finding. Use this for a deficiency photo. Open the item, find the finding in the list, and tap + Add photo or video under that finding.
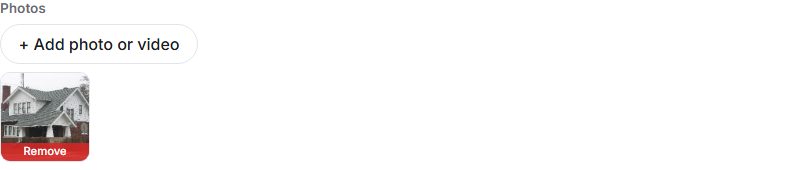
- On an item. Use this for a general condition photo that does not belong to a particular finding. Open the item and tap + Add photo or video under Photos.
- Unsorted. Photos added from the Walk-and-talk capture panel have no item yet. They wait in Sort captures until you assign them. See walk-and-talk capture.
An item belongs to one section (Roof, Exterior and so on), so a photo's section is simply the section of the item it is on. There is no separate section choice.
Add a photo to a finding
Open the item and find the finding. Tap + Add photo or video under it. On a phone this opens the camera, and you can also choose existing files. You can select several at once.
The thumbnail appears under the finding straight away, even with no signal. A small badge (pending, uploading, failed) shows until the original has uploaded.

Add a photo to an item
In the open item, scroll to Photos and tap + Add photo or video.

Sort an unsorted photo onto an item
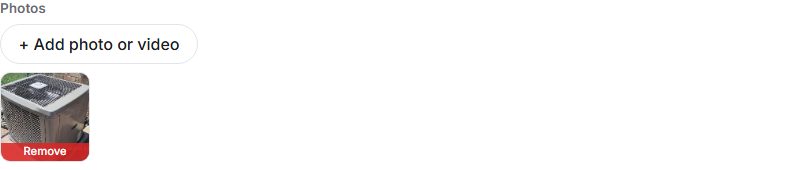
In Sort captures, open the Choose an item... menu on the photo's row and pick an item. The menu lists every item in the inspection under its section name.
Tap Assign. The photo moves to that item's Photos area.

Optionally, Classify N photo(s) with AI first sends a small copy of every unsorted photo, with the names of the inspection's items, and pre-selects its best guess in each menu with a short reason. It can also answer "AI couldn't tell - pick manually." Treat the guess as a suggestion. You can change the menu before you tap Assign, and a photo you have already picked an item for is not overwritten. The AI needs a connection and works only on photos that have finished uploading. It cannot be shown in these screenshots, which come from a test copy of the app without an AI connection.
Mark up a photo
Tap a thumbnail to open it.
Choose a tool: Arrow, Circle, Rectangle, Freehand, Text or Blur, and draw on the photo. Text asks for "Label text:". Undo removes the last mark.
Tap Save annotations, or Cancel to leave without saving.
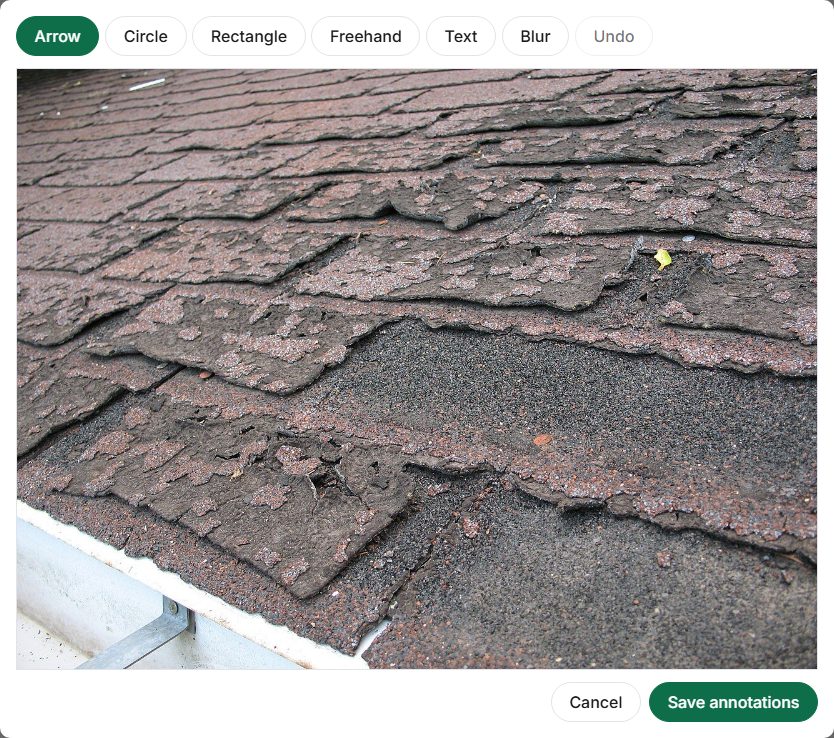

The thumbnail then shows a badge such as "1 markup". The original photo is kept as it is; your marks are stored beside it and drawn onto the photo when the report is built.
Photos opened from an item's Photos area may also show Read data plate, when the AI features are switched on. It reads the equipment label from the photo and offers the result, with the warning "Read by AI from the photo. Check it against the label before relying on it.", and nothing reaches the item's notes unless you tap Add to item notes. It only works once the photo has uploaded.
What happens to the file
- A photo is shrunk on your device before upload, to at most 2000 pixels on its longest edge, with a small thumbnail made alongside. iPhone HEIC photos are converted to JPEG if they arrive in that format.
- Re-saving the photo this way removes its embedded metadata, including GPS location. The time it was taken is kept as the capture time.
- A video can be up to 60 seconds. A still frame is used as its thumbnail, and the thumbnail carries a "Video" badge.
- Upload happens in the background, a little at a time, and starts again by itself after a lost connection. Once a photo is safely uploaded, the full-size copy is cleared from your device to save space. The thumbnail stays so the gallery still works offline.
- Remove on a thumbnail deletes the photo. There is no undo.
If something goes wrong
- "Video is 75s, longer than the 60s limit." Shorten the clip and add it again.
- "Could not process that file." The file could not be read as a photo or video. Try another.
- A badge says "failed". The upload did not complete. The app retries on its own about every 15 seconds while it is open, and again when the connection returns. Check your connection if it persists. See working offline.