 AfterInspect
Your first inspection
This walks one inspection from start to a finished PDF report, so you know the whole path before you do a real one. It stays on the shortest route. The in-the-field articles go deeper on each part.
Before you start
- Sign in and open the app once while you have a signal, so your inspection templates are saved to the phone. See Install on iPhone or Install on Android.
- No inspection to hand? On an empty inspection list, Try a sample inspection creates a finished sample with findings already in it. You can go straight to generating its report and see what clients receive. It is a quick way to see the result before you record anything of your own.

Start the inspection
On your inspection list, tap New inspection.
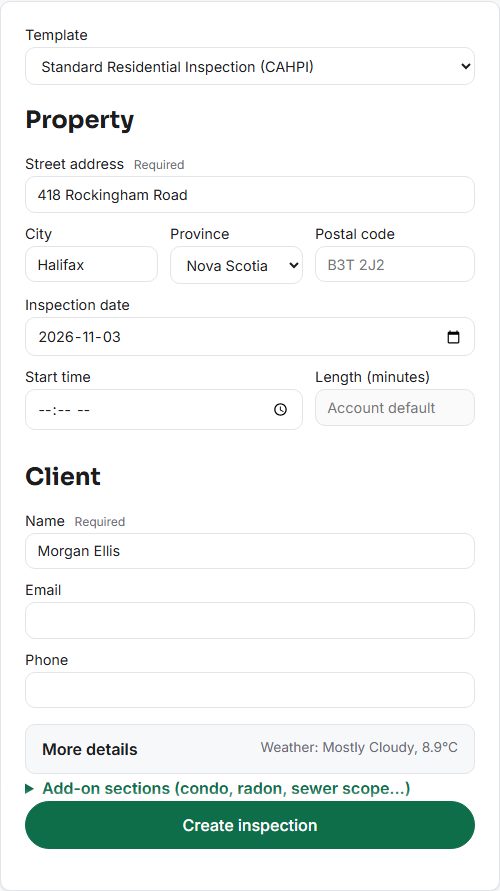
If your account has more than one template, pick one under Template (see Templates and add-on sections). The form starts with the standard that fits the province you choose, and remembers your last choice.
Enter the Street address, City and Province. The postal code is optional. The Inspection date starts as today.
Under Client, enter the client's Name. It is required, and the email and phone are optional. A client email is what makes emailing the report to them quicker later. Clients you save are kept under Contacts.
Tap Create inspection.

This works with no signal: the inspection is saved on the device first and synced when you are back online.
Find your way around the inspection
The inspection page opens on the address. Across the top are Edit details, Preview report, Preview PDF and Complete inspection. Below are the walk-and-talk capture panel and a progress line that counts how many items you have reviewed. After those come an Agreement panel and, where client payments are available, a Payment panel (see Pre-inspection agreement). Then come the template's sections, each with its items.

Record a finding
Tap an item, for example Roof covering, to open it.
Set its condition: Inspected, Not inspected, Not present or Deficient.
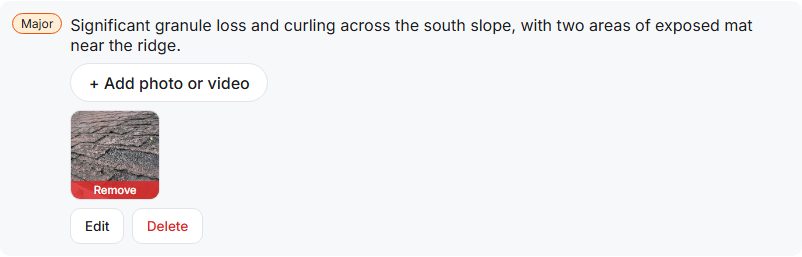
For a defect, choose a severity (Info, Maintenance, Minor, Major or Safety), type or dictate the Narrative, and tap Add finding.
Under the finding, tap Add photo or video and take or choose a photo. It uploads in the background.

Each of these has its own article:
- Dictate a finding for speaking instead of typing.
- Walk-and-talk capture and triage for capturing as you walk and sorting onto items afterwards.
- Photos and video, and classifying them.
- Severity, condition and marking items inspected.
- The comment library for suggested wording as you type a finding.
Preview before you finish
While the inspection is still open, Preview report and Preview PDF build a draft and open it in a new tab. They need a connection. The app first tries to send what is waiting on your device, and if some changes are still waiting, a note says how many are not in the preview.
Complete the inspection
Tap Complete inspection.
The page tells you how many findings are recorded, and warns if items have not been reviewed or are marked Deficient with no finding describing them. These are nudges, not blocks.
Tap Yes, complete, or Review remaining to go back and finish the items it listed.
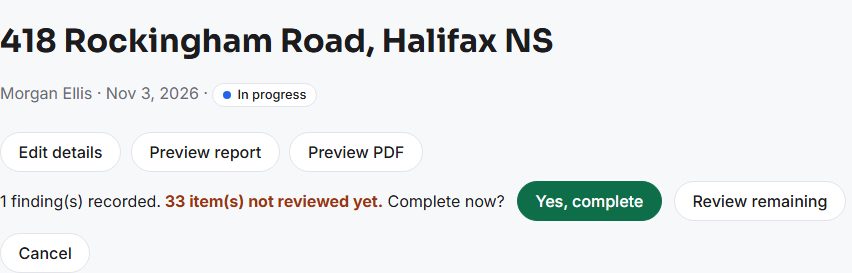

A completed inspection can no longer be edited. If you need to change something, tap Reopen for editing. The status chip changes from In progress to Completed.
Generate the report
A Report section appears at the bottom of a completed inspection.
Tap Generate report.

Wait for it to build. It shows Queued, then Building, and usually takes under a minute. The status then reads Ready.
Tap Download PDF to get the file.
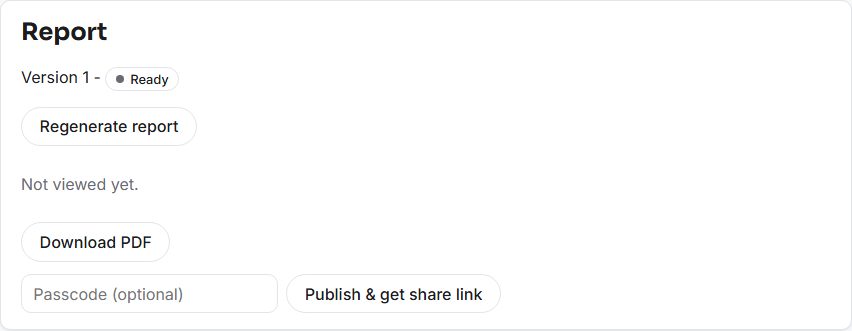


Publish & get share link makes a link your client can open, with an optional passcode. Once there is a link, you can email it to the client from the same section with Email to client. If you change the inspection afterwards, the report says it was generated before your latest changes, and Regenerate report builds a new version. See Complete an inspection and generate the report, Share the link and email the client and Report versions.
If something goes wrong
- A banner says photos or videos are not in storage yet. They will be blank in the report. If they are still uploading, open the app on the phone and let it finish syncing, then check again. Otherwise retake or remove them.
- The report is taking longer than usual. Refresh the page in a minute to check on it.
- Could not start the report render. Try again, and check your connection.
- Your account asks for a review first. Some accounts have a review step, and an owner or admin must approve the report before it can be sent.
- The inspection is not synced. The indicator at the top right says how many items are pending. See Working offline and fixing sync issues.